
Lessons:
I-4 Isamu Noguchi
Humpty Dumpty
Overview
- Discuss Humpty Dumpty by Isamu Noguchi.
- Learn about biomorphic form and interlocking slabs.
- Create a slotted sculpture.
Reflection
- Who lives in the house that you created?
- What colors and objects did you add to describe mood of the house?
- What is the title of your artwork?

Humpty Dumpty by Isamu Noguchi, 1946, Ribbon slate 59×20.75×17.5 in. (149.9×52.7×44.5 cm), © 2026 The Isamu Noguchi Foundation and Garden Museum, New York / Artists Rights Society (ARS), New York
Discussion Presentation
Discussion Questions
Why do you think the artist titled it Humpty Dumpty?
The sculpture is biomorphic art. Bio means living and morphic means form, so shapes mimic living forms, especially non-skeletal. Jellyfish, kidney beans, and an egg are biomorphic shapes.
Describe what you think it looks like from the back?
Sculptures are 3D forms (3-dimensional). They have width, height, AND depth. Artists often take multiple photos to show their art piece.
What do you think holds the pieces together?
Each connection point is an interlocking slot. The heavy marble pieces either rest on each other (gravity) or are slotted together. The sculpture is like a 3D puzzle that does not use glue or nails.
Biography
- Isamu Noguchi (ee•SAH•moo no•GOO•chee) was an American artist from California.
- He sold stone portrait sculptures, to fund his art-making of giant carved sculptures.
- He believed that art should be fun to touch, so he designed playgrounds with statues to climb.
- He designed art you could interact with, Miami’s Slide Mantra is over 10 ft. tall and made of white marble. It weighs 29 tons: ~5 African elephants or ~2 yellow school buses.
Project
Materials
- sketch paper
- 9×12 tagboard
- drawing pencil
- conical markers
- scissors
- clear tape (optional)
Warm Up & Brainstorm
- Project sketch: using pencil, draw cross lines to create four areas. Draw 3 BIG biomorphic shapes.
Project Directions
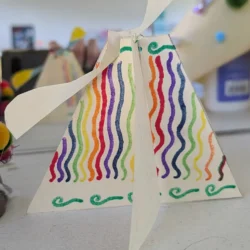
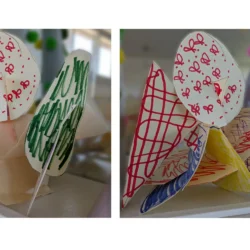
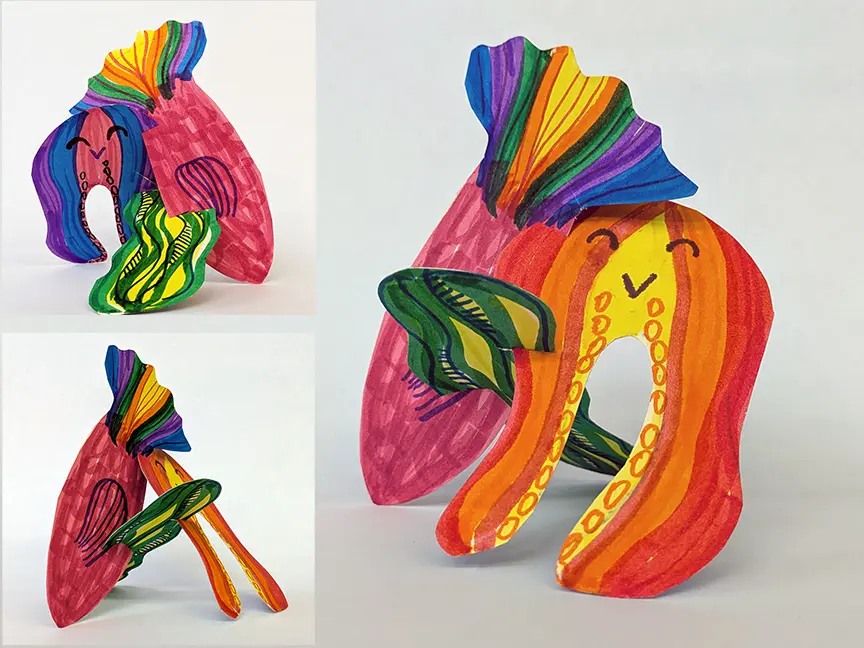
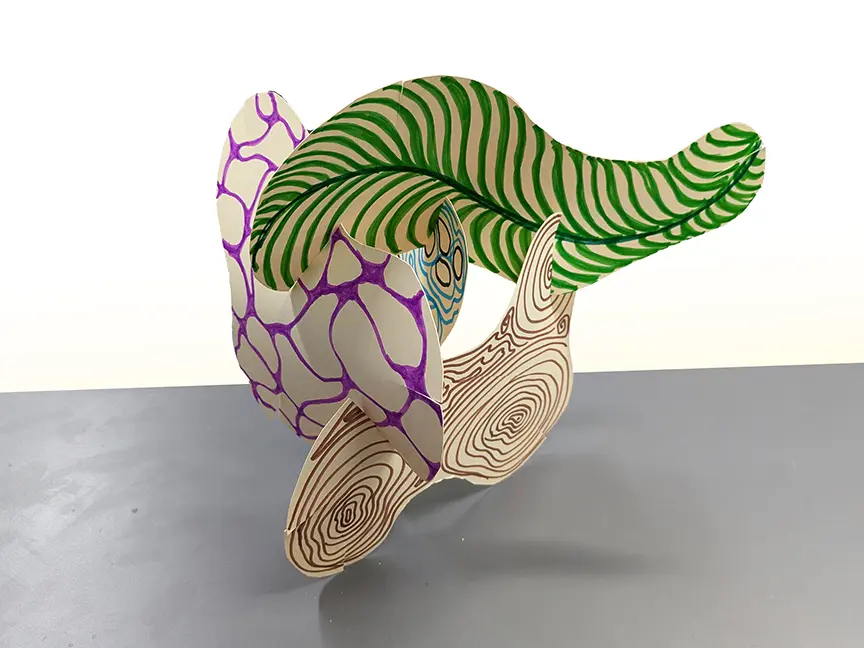
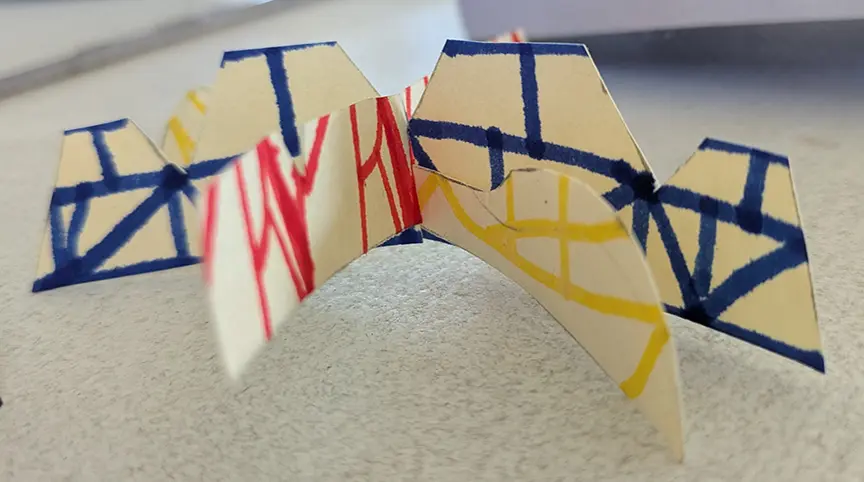
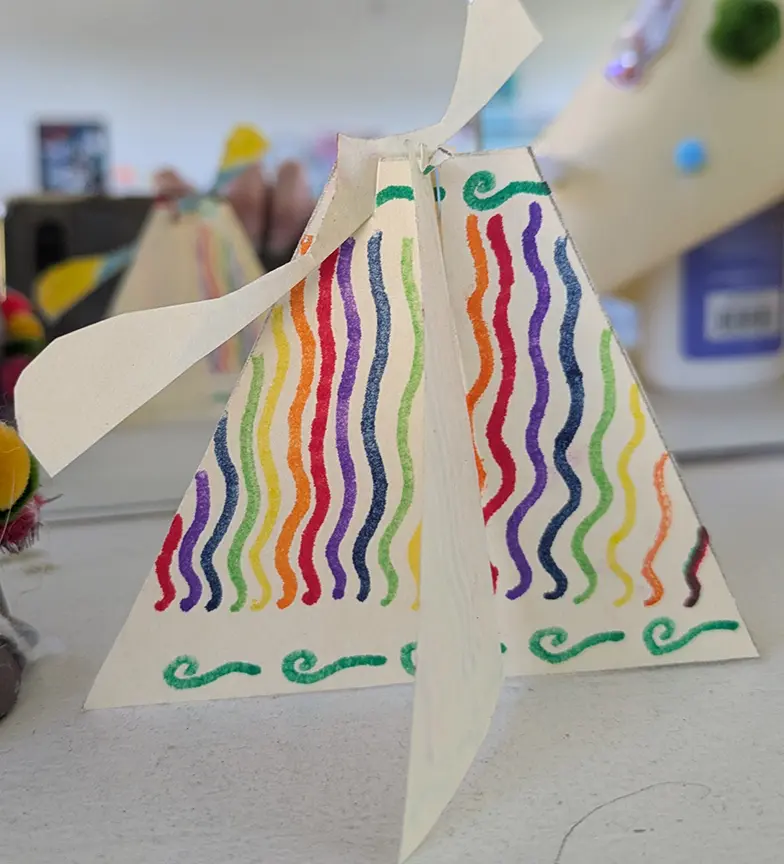
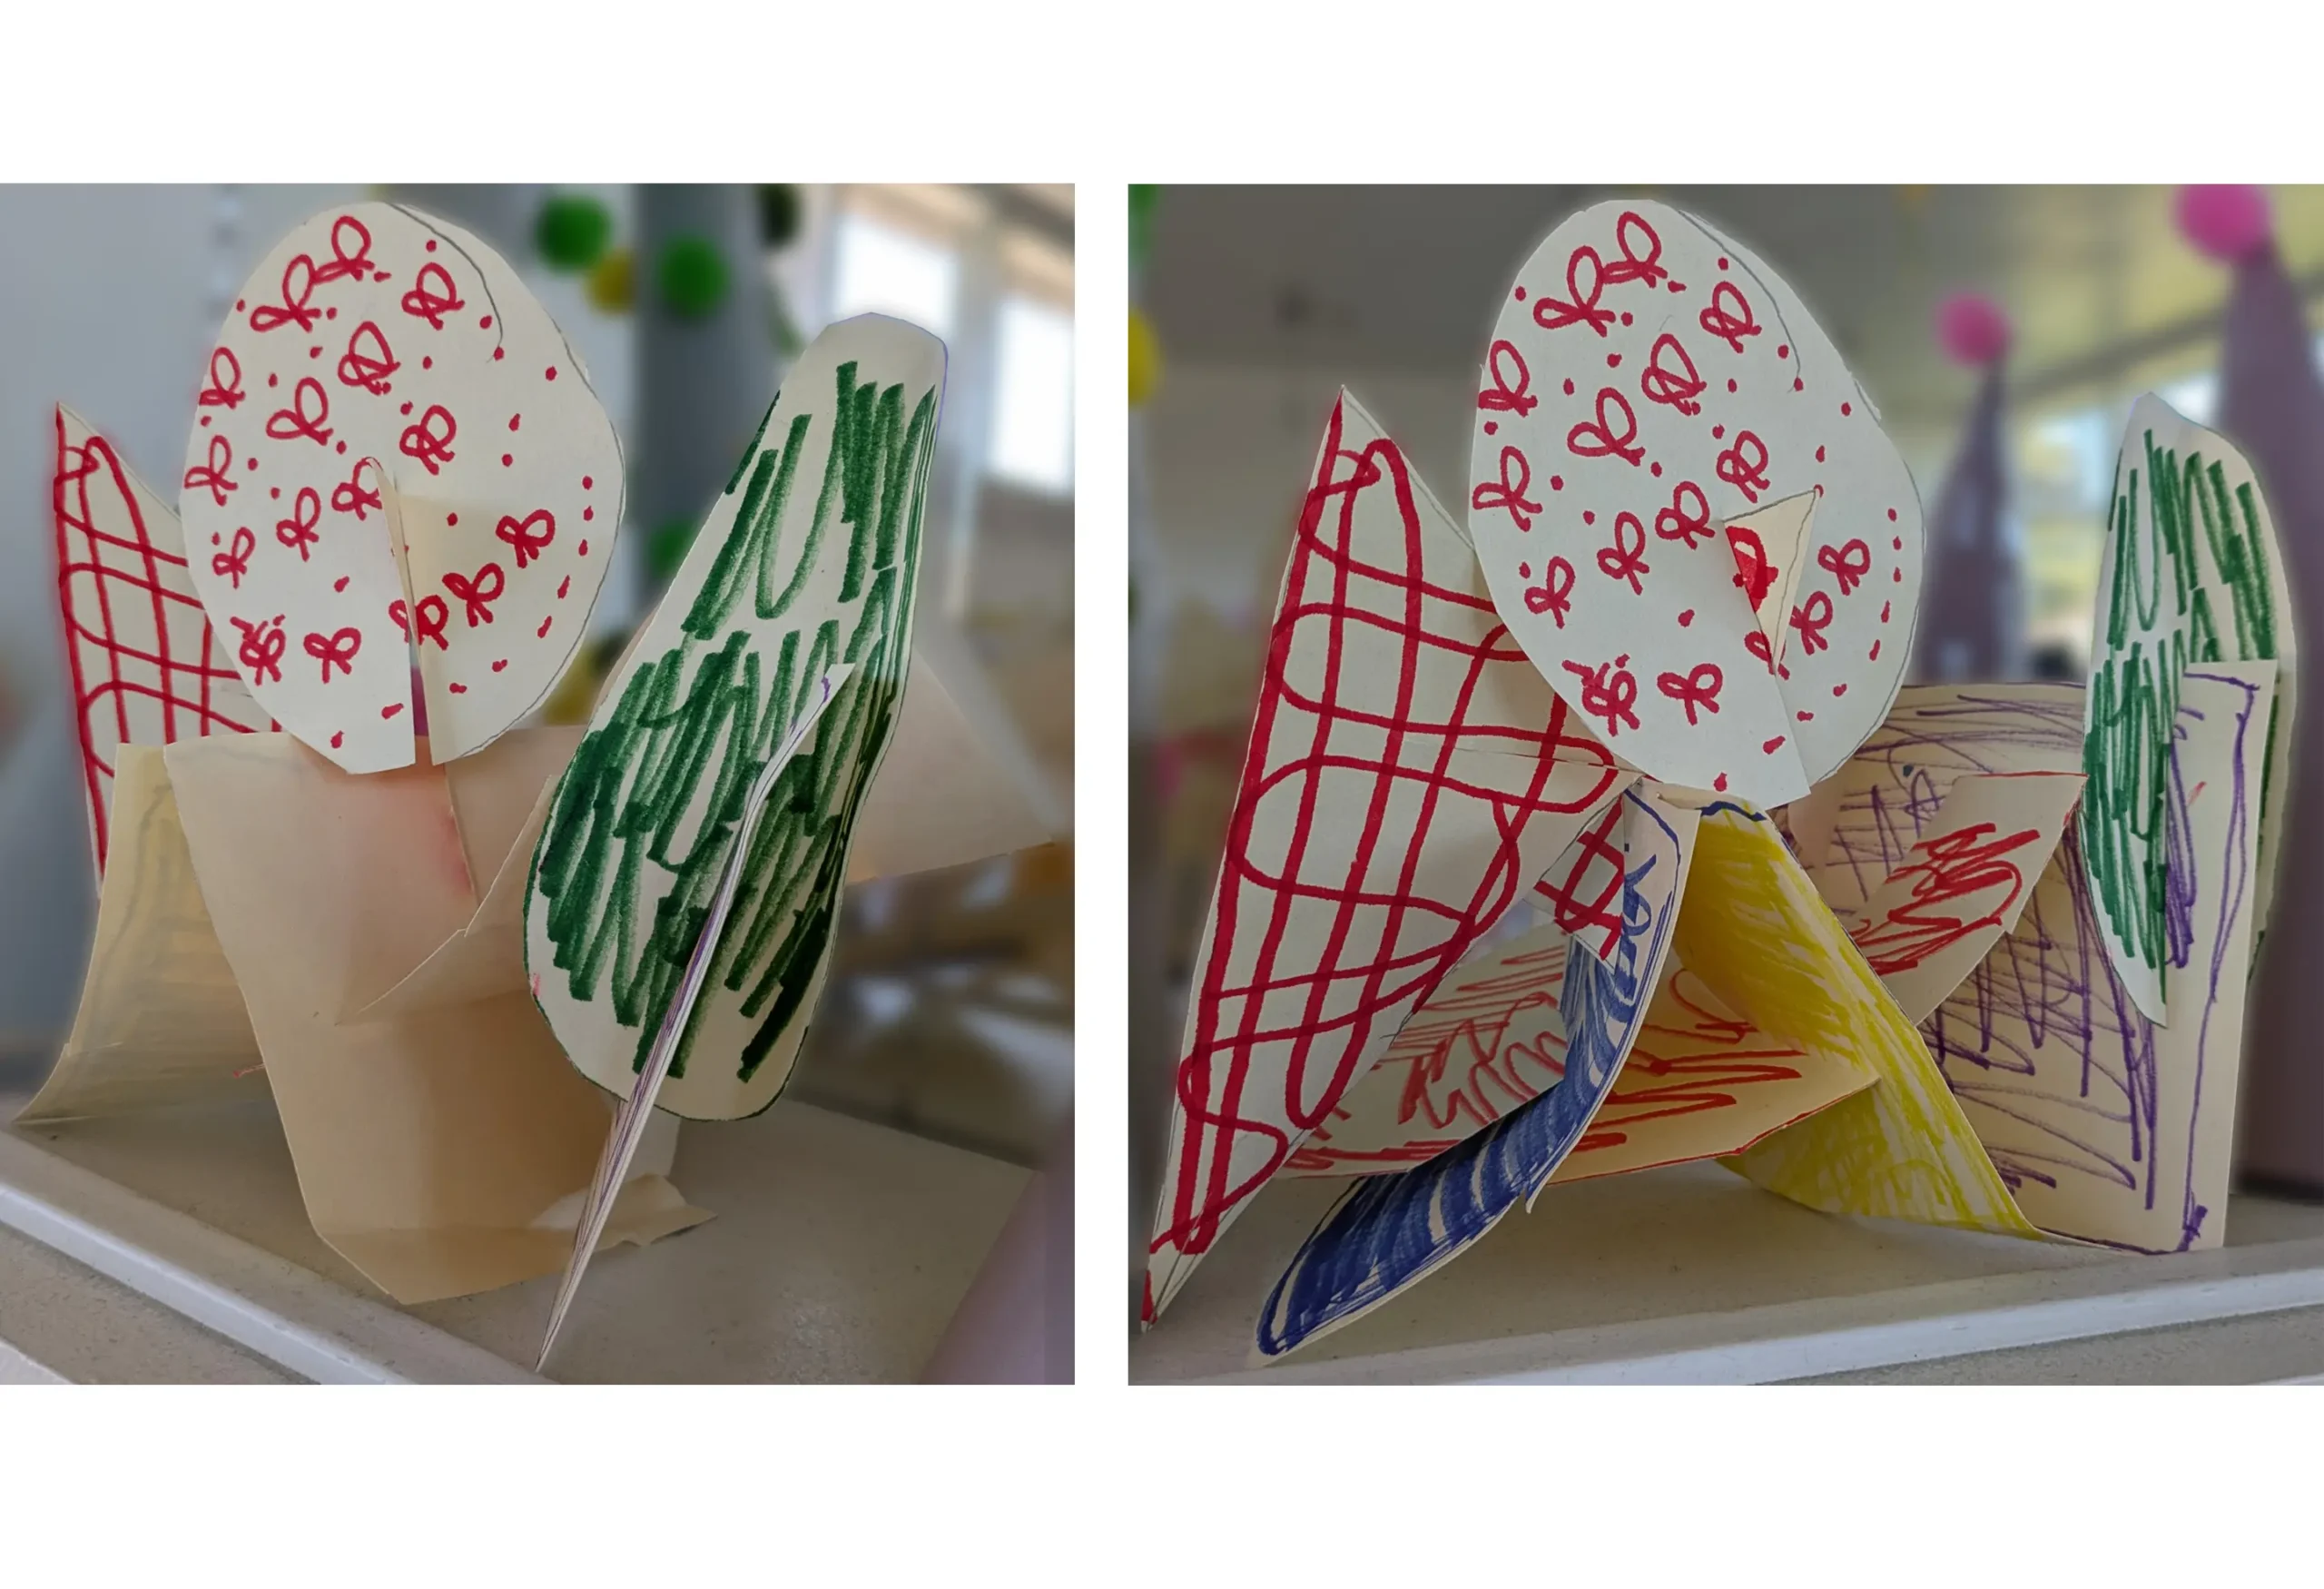
Slotted Sculpture
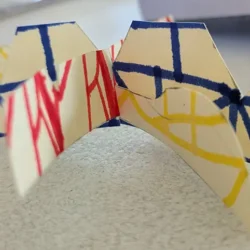
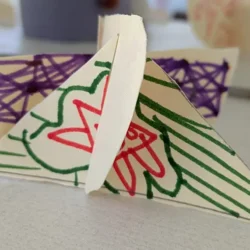
1. Transfer shapes.
Place pencil sketch face down on 9×12 tagboard. Use pencil to scribble on top of the sketch lines. This transfers the graphite onto the tagboard.
2. Color pattern shapes.
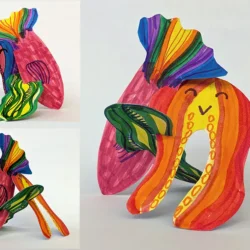
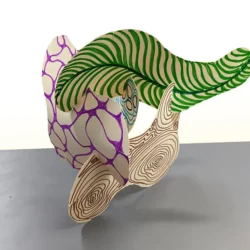
Use markers to decorate the shapes with bright colors and patterns. Cut them out.
3. Interlock two shapes.
Choose two shapes and explore where to connect them. Cut a 1/2 inch slot in one shape and slide the other shape to connect.
4. Add a third shape.
Explore where the third shape connects to the other two shapes. Note: If all three touch the table, they should create stability, like a tripod.
5. Give artwork a title.
Pre-Lesson Preparation
- No prep required.
Day of Lesson Setup
- Demo sketch: draw BIG biomorphic shapes.
- Demo cutting a slot on each shape to assemble.
- Emphasize BIG shapes make for easier assembly
- Emphasize this is exploration, a visual plan in the mind may not work.
- Demo transfering the sketch to tagboard (time saver, draw once and ensure the shapes are big.
- Tip: shapes are the tripod “legs” of the sculpture.
- Tip: give students three very small pieces of transparent tape to secure the slot connections when final.
- Tip: let students take photos of their sculpture from different angles.