
Lessons:
I-10 Jacob Hashimoto
The Other Sun
Overview
- Discuss The Other Sun by Jacob Hashimoto.
- Learn about large-scale installations and composition.
- Create a designed circle for a group collaboration.
Reflection
- Who lives in the house that you created?
- What colors and objects did you add to describe mood of the house?
- What is the title of your artwork?
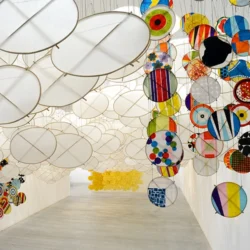
The Other Sun by Jacob Hashimoto, 2012, Bamboo, paper, acrylic, wood, and Dacron, photo credit: Michele Alberto Sereni, Ronchini Gallery, London UK. ©Jacob Hashimoto. All rights reserved.
Discussion Presentation
Discussion Questions
Which kite would you want to see in the sky?
Hashimoto hung the kites in three different color patterns or groupings to create a sense of a sky with colorful kites among white clouds and the sun. They hang low enough to walk among them.
How’s the art visually intentional? How’s it random?
Hashimoto was creative with each color kite, but had to design or plan the way 830 kites were hung. He designed the 3D front view with intention (gallery photo), but colors shift as you walk among the kites.
What jobs need to be done to install this artwork?
Installation art typically requires altering the physical showroom because it fills a 3D space. Construction, wall painting, and even floors may be altered to recreate the space as the artist envisions.
Biography
- Jacob Hashimoto (JAY•kub Hah•shee•MOH•toh) is an American artist from New York City, NY.
- His art is inspired by his Japanese and Irish heritage, digital pixels (dots), and design.
- He creates massive, hanging art that changes as you walk past or under them.
- He combines the imagery of kites, digital pixels, and color to create large-scale installations.

Project
Materials
- 9 in. white circle paper
- 9×12 assorted paper
- scissors
- white glue
- tempera paints
- 1/2 in. tempera brush
- 1/4 in. tempera brush
- water container
- paper towels
- hole puncher
- 4-5 in. length yarn
- 12 in. wood dowels
Warm Up & Brainstorm
- No warmup required.
Project Directions
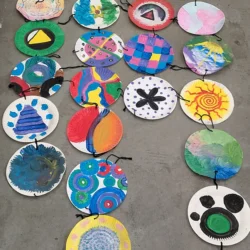
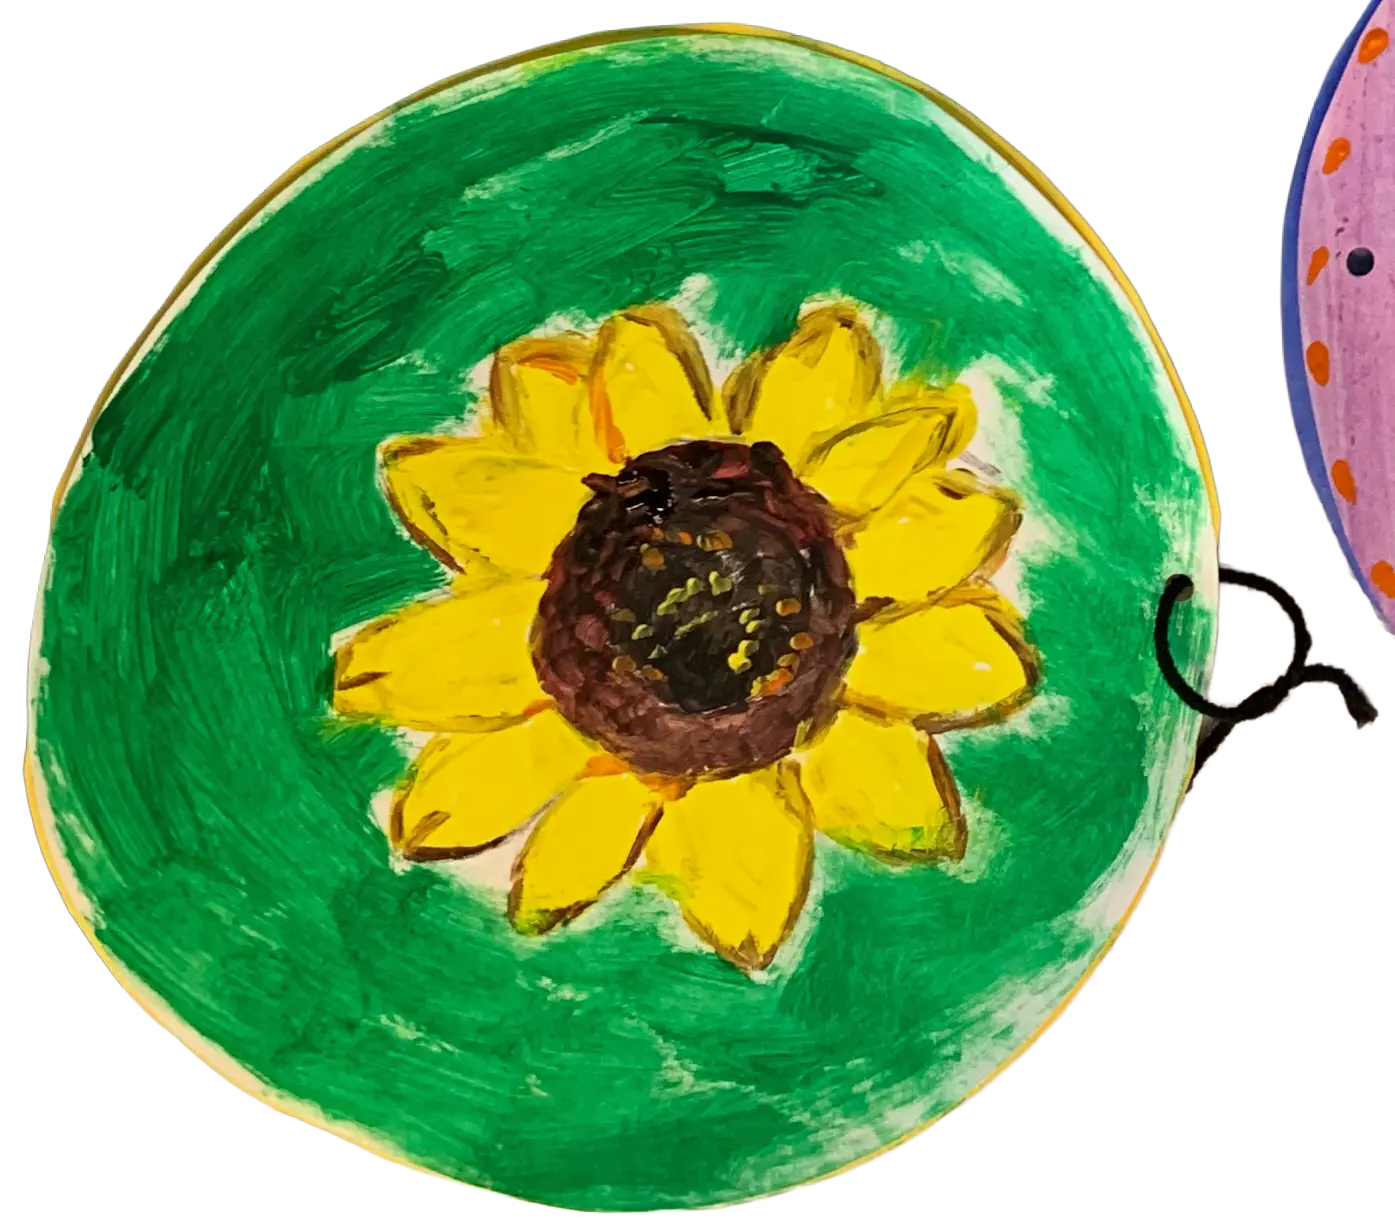
Circle Collaboration
1. Mount circle on paper.
Glue 9 in. circle paper onto 9×12 assorted paper, then cut to circle size.
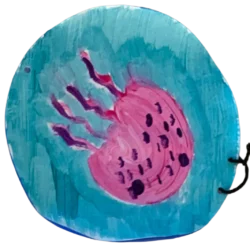
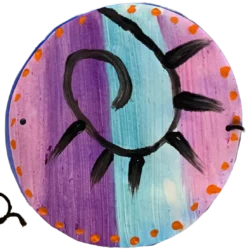
2. Design circle.
Paint circle with a bold color pattern or image or scene.
3. Attach yarn to circle.
Ask student the orientation of their circle design and hole punch a .5 inch in from the top edge. Fold yarn in half and thread the fold through the hole. Pull both yarn ends through the loop.
4. Connect the circles.
Once the circle designs are dry, determine the order of circles in each column.
5. Create columns.
Hole punch any circles that needs another hole to connect to other circles.
6. Hang installation.
Attach circle columns to dowels and hang it up.
7. Give installation a title.
Tip: On table or floor, lay out each column of circles to tie to the dowel (top) and each other.
Pre-Lesson Preparation
- No prep required.
Day of Lesson Setup
- Next-day assembly: dry circles flat, then assemble.
- Brainstorm installation process with students: installation site, how many circles in a column, allow hanging circles to flip/spin?
- If students add yarn: Demo how to loop yarn for tying to other circles.
- Timesaver: Glue circles to paper, so students just cut and paint the circles.
- Note: Assorted color paper backing won’t be fully seen, both are 9 in. wide. Paper is to stiffen the circle, so it does not flop when suspended.
- Tip: Include students in the installation process. For example: vote on a location or groups of students determine the circle order of their column.